So now you’ve gained some of the strength back and improved your proprioception, it’s time to really progress both and bring in some active movement to that ankle, so if you haven't already, why not go to a training session so you can see your friends whilst doing your exercises….and you need some space now so the sports hall is ideal.
Firstly, to check you’re on track, sit and wrap a resistance band (or thick tights) around your foot again. Dorsiflex (toes to shin) and plantar flex (pointed toes), evert (windscreen wiper away from your other foot) and invert (windscreen wiper towards other foot) each foot (uninjured first) just as you did during the last blog, BUT, this time, with each movement go to end of range, as achieved in the last stage, hold for 5 seconds and then very slowly return to neutral, all the while gentle pulling the resistance band in the opposite direction. You have control of how much resistance you apply so start by lightly pulling and increasing the pull as long as your ankle remains pain free. Do 3 sets of 10 for each movement. Progress by holding for 10 seconds before very slowly returning to neutral, all the while under resistance.
Firstly, to check you’re on track, sit and wrap a resistance band (or thick tights) around your foot again. Dorsiflex (toes to shin) and plantar flex (pointed toes), evert (windscreen wiper away from your other foot) and invert (windscreen wiper towards other foot) each foot (uninjured first) just as you did during the last blog, BUT, this time, with each movement go to end of range, as achieved in the last stage, hold for 5 seconds and then very slowly return to neutral, all the while gentle pulling the resistance band in the opposite direction. You have control of how much resistance you apply so start by lightly pulling and increasing the pull as long as your ankle remains pain free. Do 3 sets of 10 for each movement. Progress by holding for 10 seconds before very slowly returning to neutral, all the while under resistance.
Dorsiflexion Plantarflexion Eversion Inversion
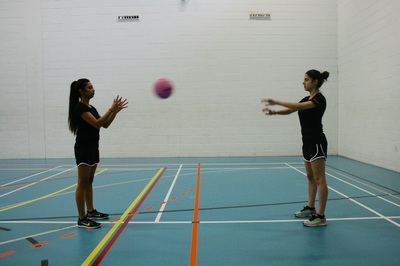
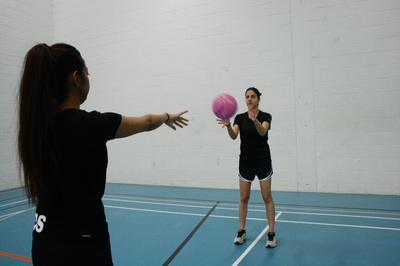
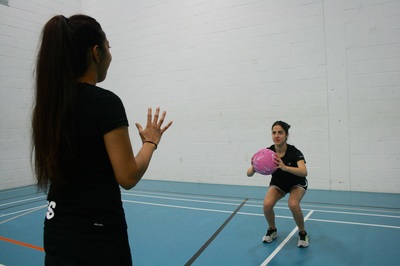
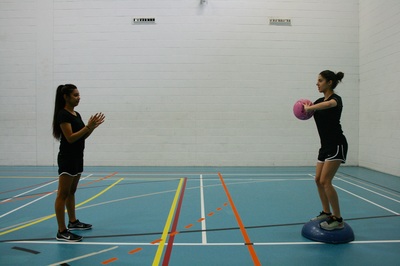
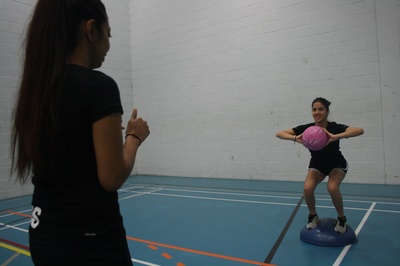
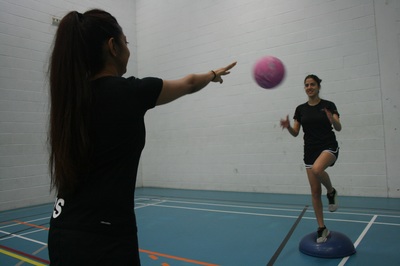
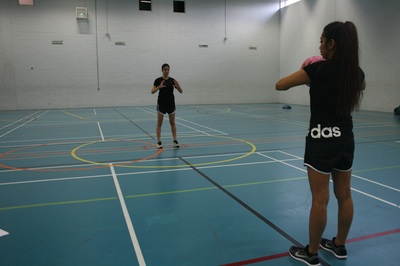
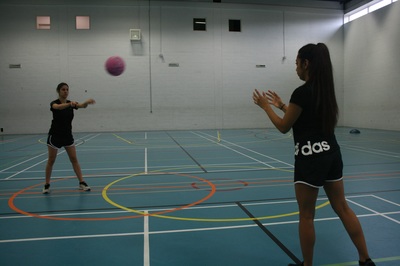
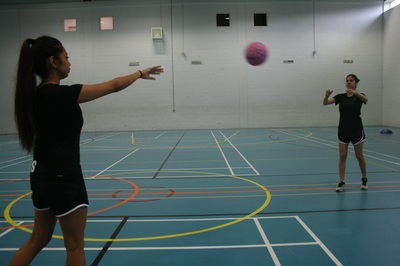
Get a teammate (or a spare coach or parent) with a netball involved for this next exercise and do each progression for 30 seconds, only moving onto the next step if your ankle feels stable and remains pain free. Start by doing a squat on the spot keeping your knees over your toes. If all OK, receive the ball (chest pass), do a squat and return it. Stand on a bosu, receive and return, no squatting yet as it's important to know you are able to just balance first. Only once ready, incorporate the squat after catching the ball whilst stood on the bosu. If feeling good, get your teammate to move around but keeping in front of you. And if feeling really good, try the whole exercise standing on one leg (uninjured first).
Chest pass Receive the netball Squat, then return netball
Receive then throw (no squat) on bosu Include squat when ready Single leg on bosu
As you know, pivoting is a key move in netball so you need to start preparing the ankle in terms of proprioception and strength now. Stand, putting most of your weight on your uninjured foot, and just gently pivot clockwise and then anti-clockwise on the spot. Switch to your injured foot but make sure you are careful when pivoting your heel outwards as this will put your injured ligament(s) under stress. If you’ve been careful and followed all the steps to this point, this movement will be fine. If that’s the case and you feel no pain, walk 2 steps and on the 3rd, gently pivot. Walk another 2 steps and again pivot on the 3rd, going in different directions and varying how far you pivot round, taking the 2 steps to a light jog once ready. Do these drills for 30 second intervals, increasing the number of sets before increasing the time.
Series of continuous gentle pivots, changing feet and angle
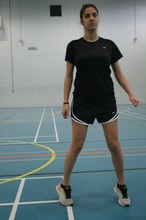
Now you’ve started moving around and your proprioception is improved, let’s keep that going and refamiliarise you with how you move during games. Grab your teammate and a netball again. Stand in the centre circle, or the centre of a “clock face” which is roughly 5 times bigger than the centre circle. Gently bounce on the spot. Jog forwards to 12 o’clock, catch and return the netball, pivot 180° and jog back to the centre, pivot round to face your teammate and bounce. Make sure you are always running forwards....no sideways or backwards running yet as your ankle may not be ready....and don't rush the moves. It's supposed to be slow. Jog to 3 o’clock and 9 o’clock, each time catching the ball, returning it, pivoting towards the centre, jogging back, pivoting to face your teammate and bounce ready to go again. Add in the times from 8 o’clock (through 12 o’clock) to 4 o’clock, going round the clock both ways twice. (Oh, if you’re wondering what’s happened to 5, 6 and 7 o’clock, they're being saved for the next stage of rehabilitation.) If your ankle is holding up, get your teammate to call out random times and start to do gentle jumps when you return to the centre, ensuring you land on both feet every time at this stage, for 3 sets of 30 seconds.
Centre of "clock face" 3 o'clock 9 o'clock
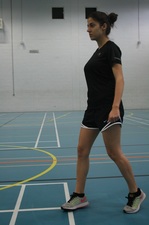
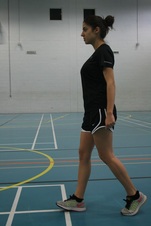
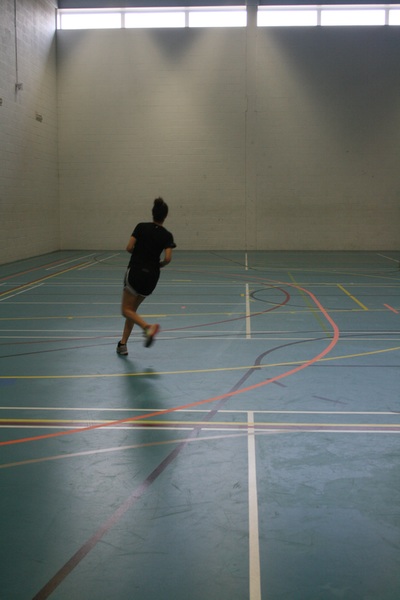
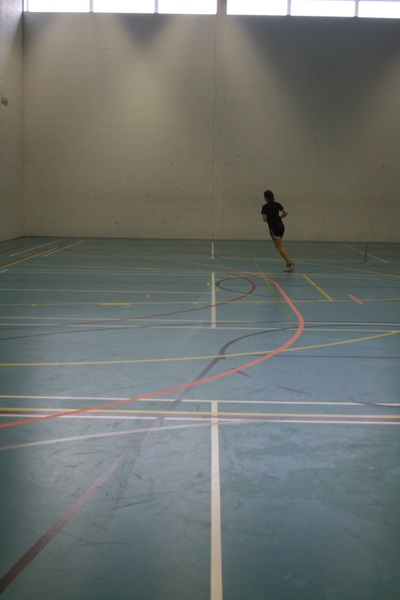
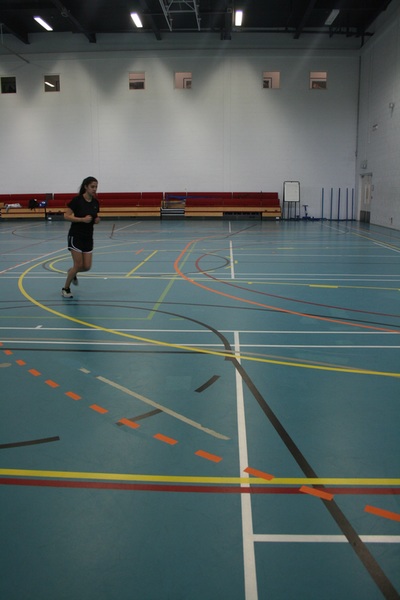
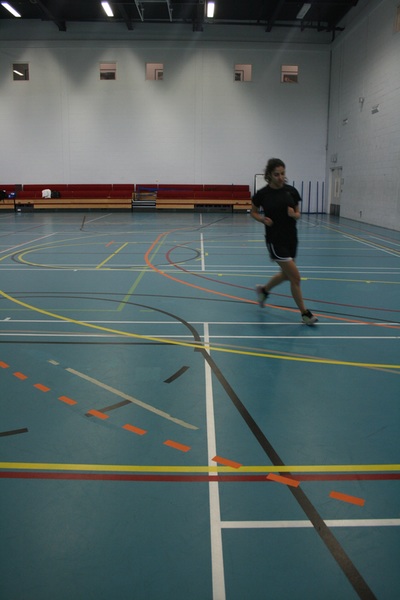
To finish off this phase of your rehabilitation, you are going to start working on your dodging which is another key move that requires good proprioception. Jog large arching turns for the width of the hall, making sure you don’t disrupt a training game, then just turn round and jog large arching turns back. Make sure you don't reduce the size of the turns or make any sudden changes in direction (again, this will happen in the next phase). Do one or two more widths or lengths of the hall, always maintaining a pain free smooth jog.
Wide arching jogging turns
Make sure you do a good stretch after this session as you will have worked hard. The next blog is more sport specific so your ankle needs to be strong enough with sufficient proprioception to carry on. Remember to look out for any niggles or pain. If you do feel something, use R.I.C.E, and once they have gone, go back a stage - better to take your time and get it right now, than rush on and injure your ankle further. If there aren't any niggles, good news, the rehab is going well, so you can keep practicing these exercises for a little while and only when you can achieve the hardest level of each one easily, go to “Netball Ankle Rehabilitation Stage 4: Moving Towards Getting Back on Court“.


 RSS Feed
